- Empty cart.
- Continue Shopping
Luckies SmartPhone Projector
26,95 € – 39,95 €Price range: 26,95 € through 39,95 €
You’ve unwrapped the Smartphone Projector, given your best mate/brother/the family dog a big thumbs up and finally sat down to build it. But where do you start? Don’t sweat it, pal. Luckies have got you covered…
What is the Smartphone Projector?
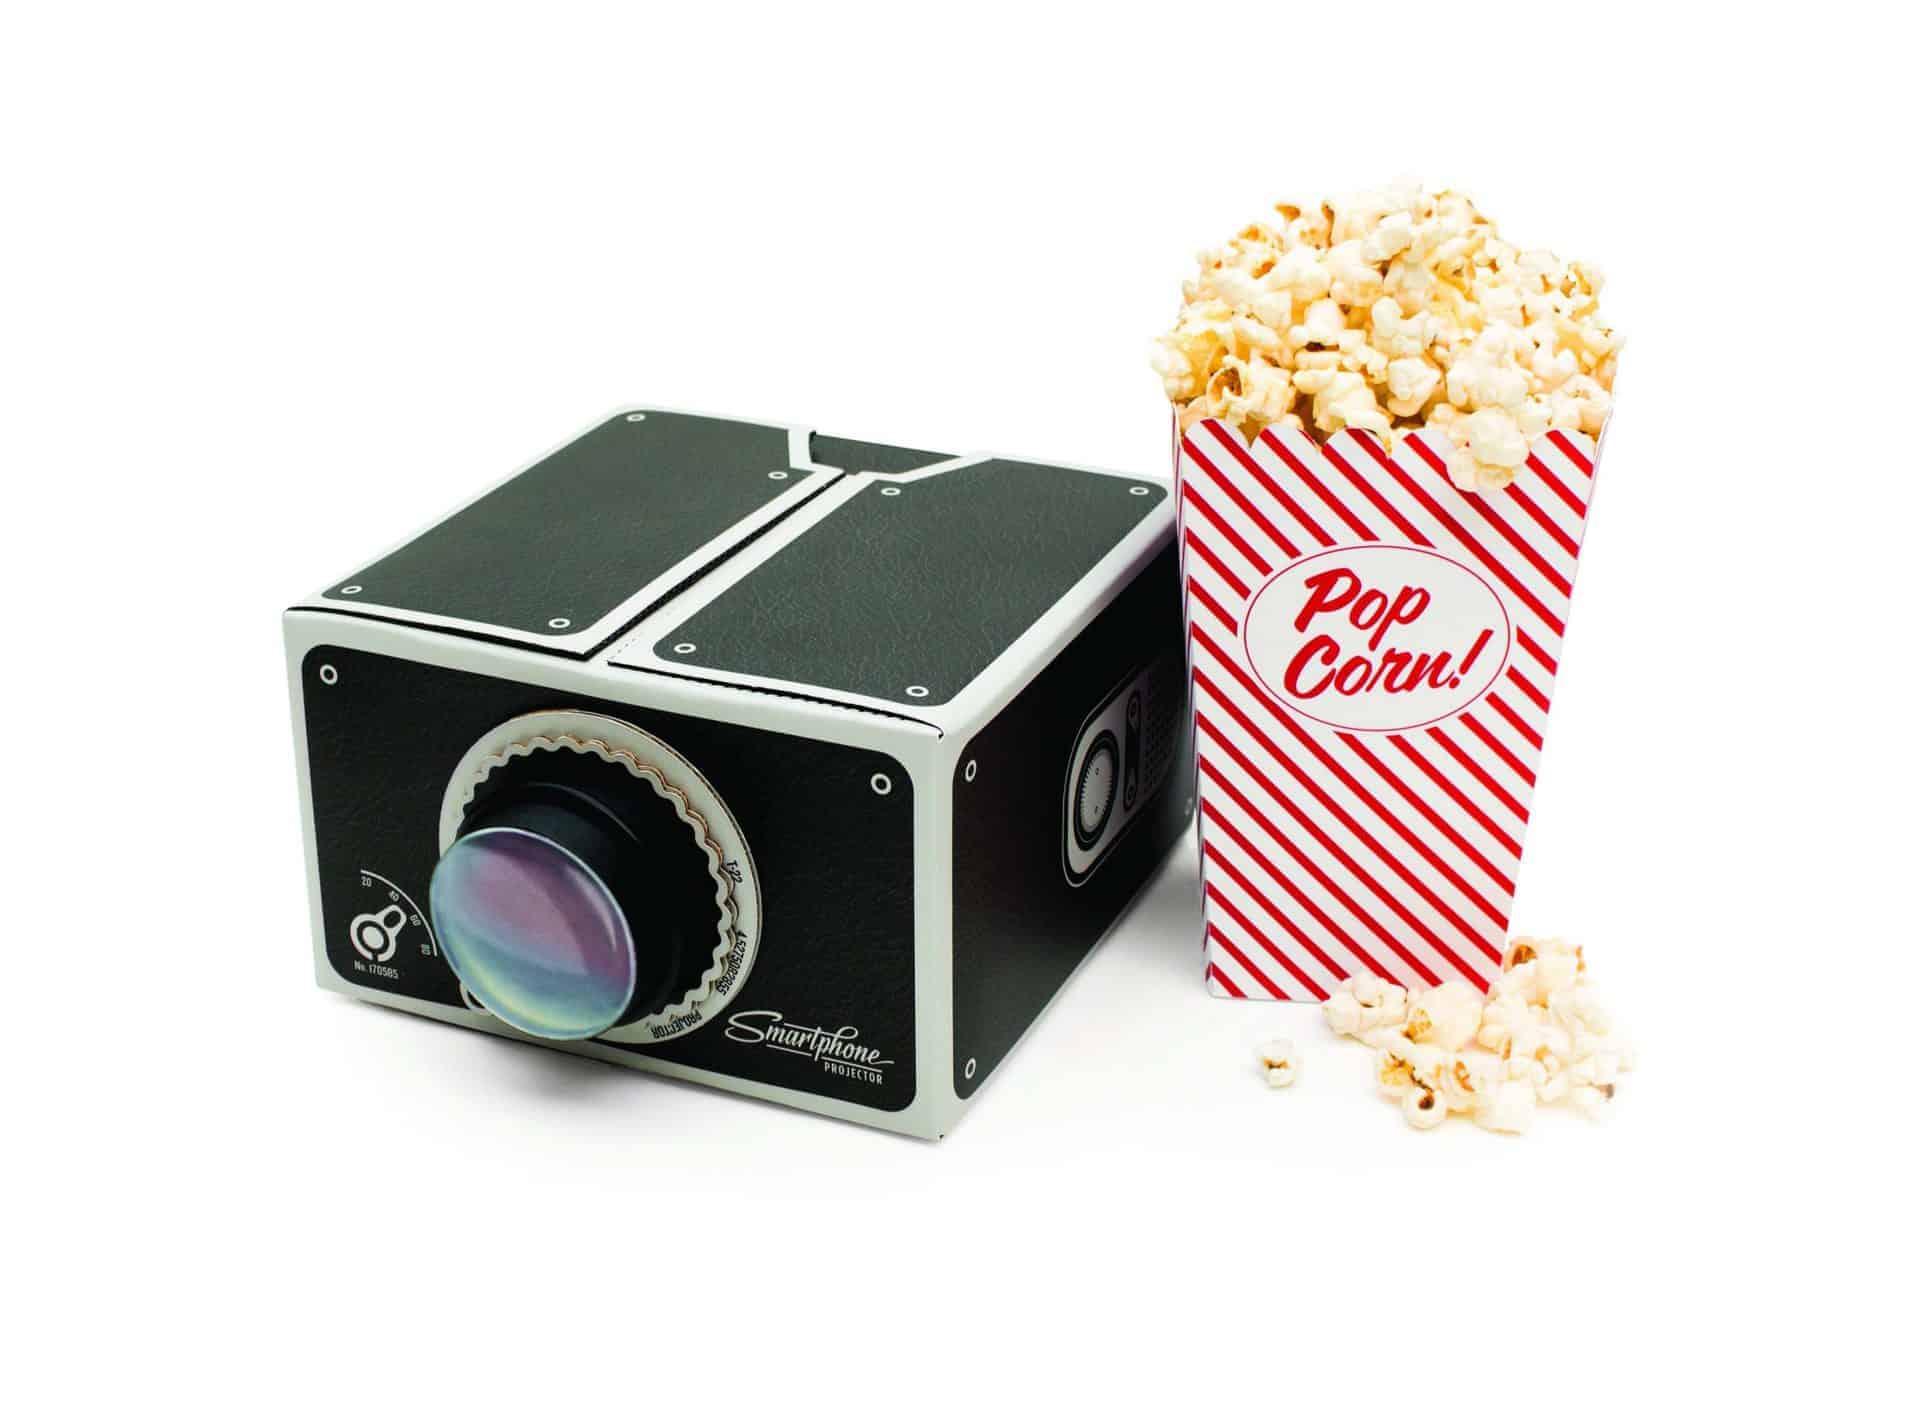
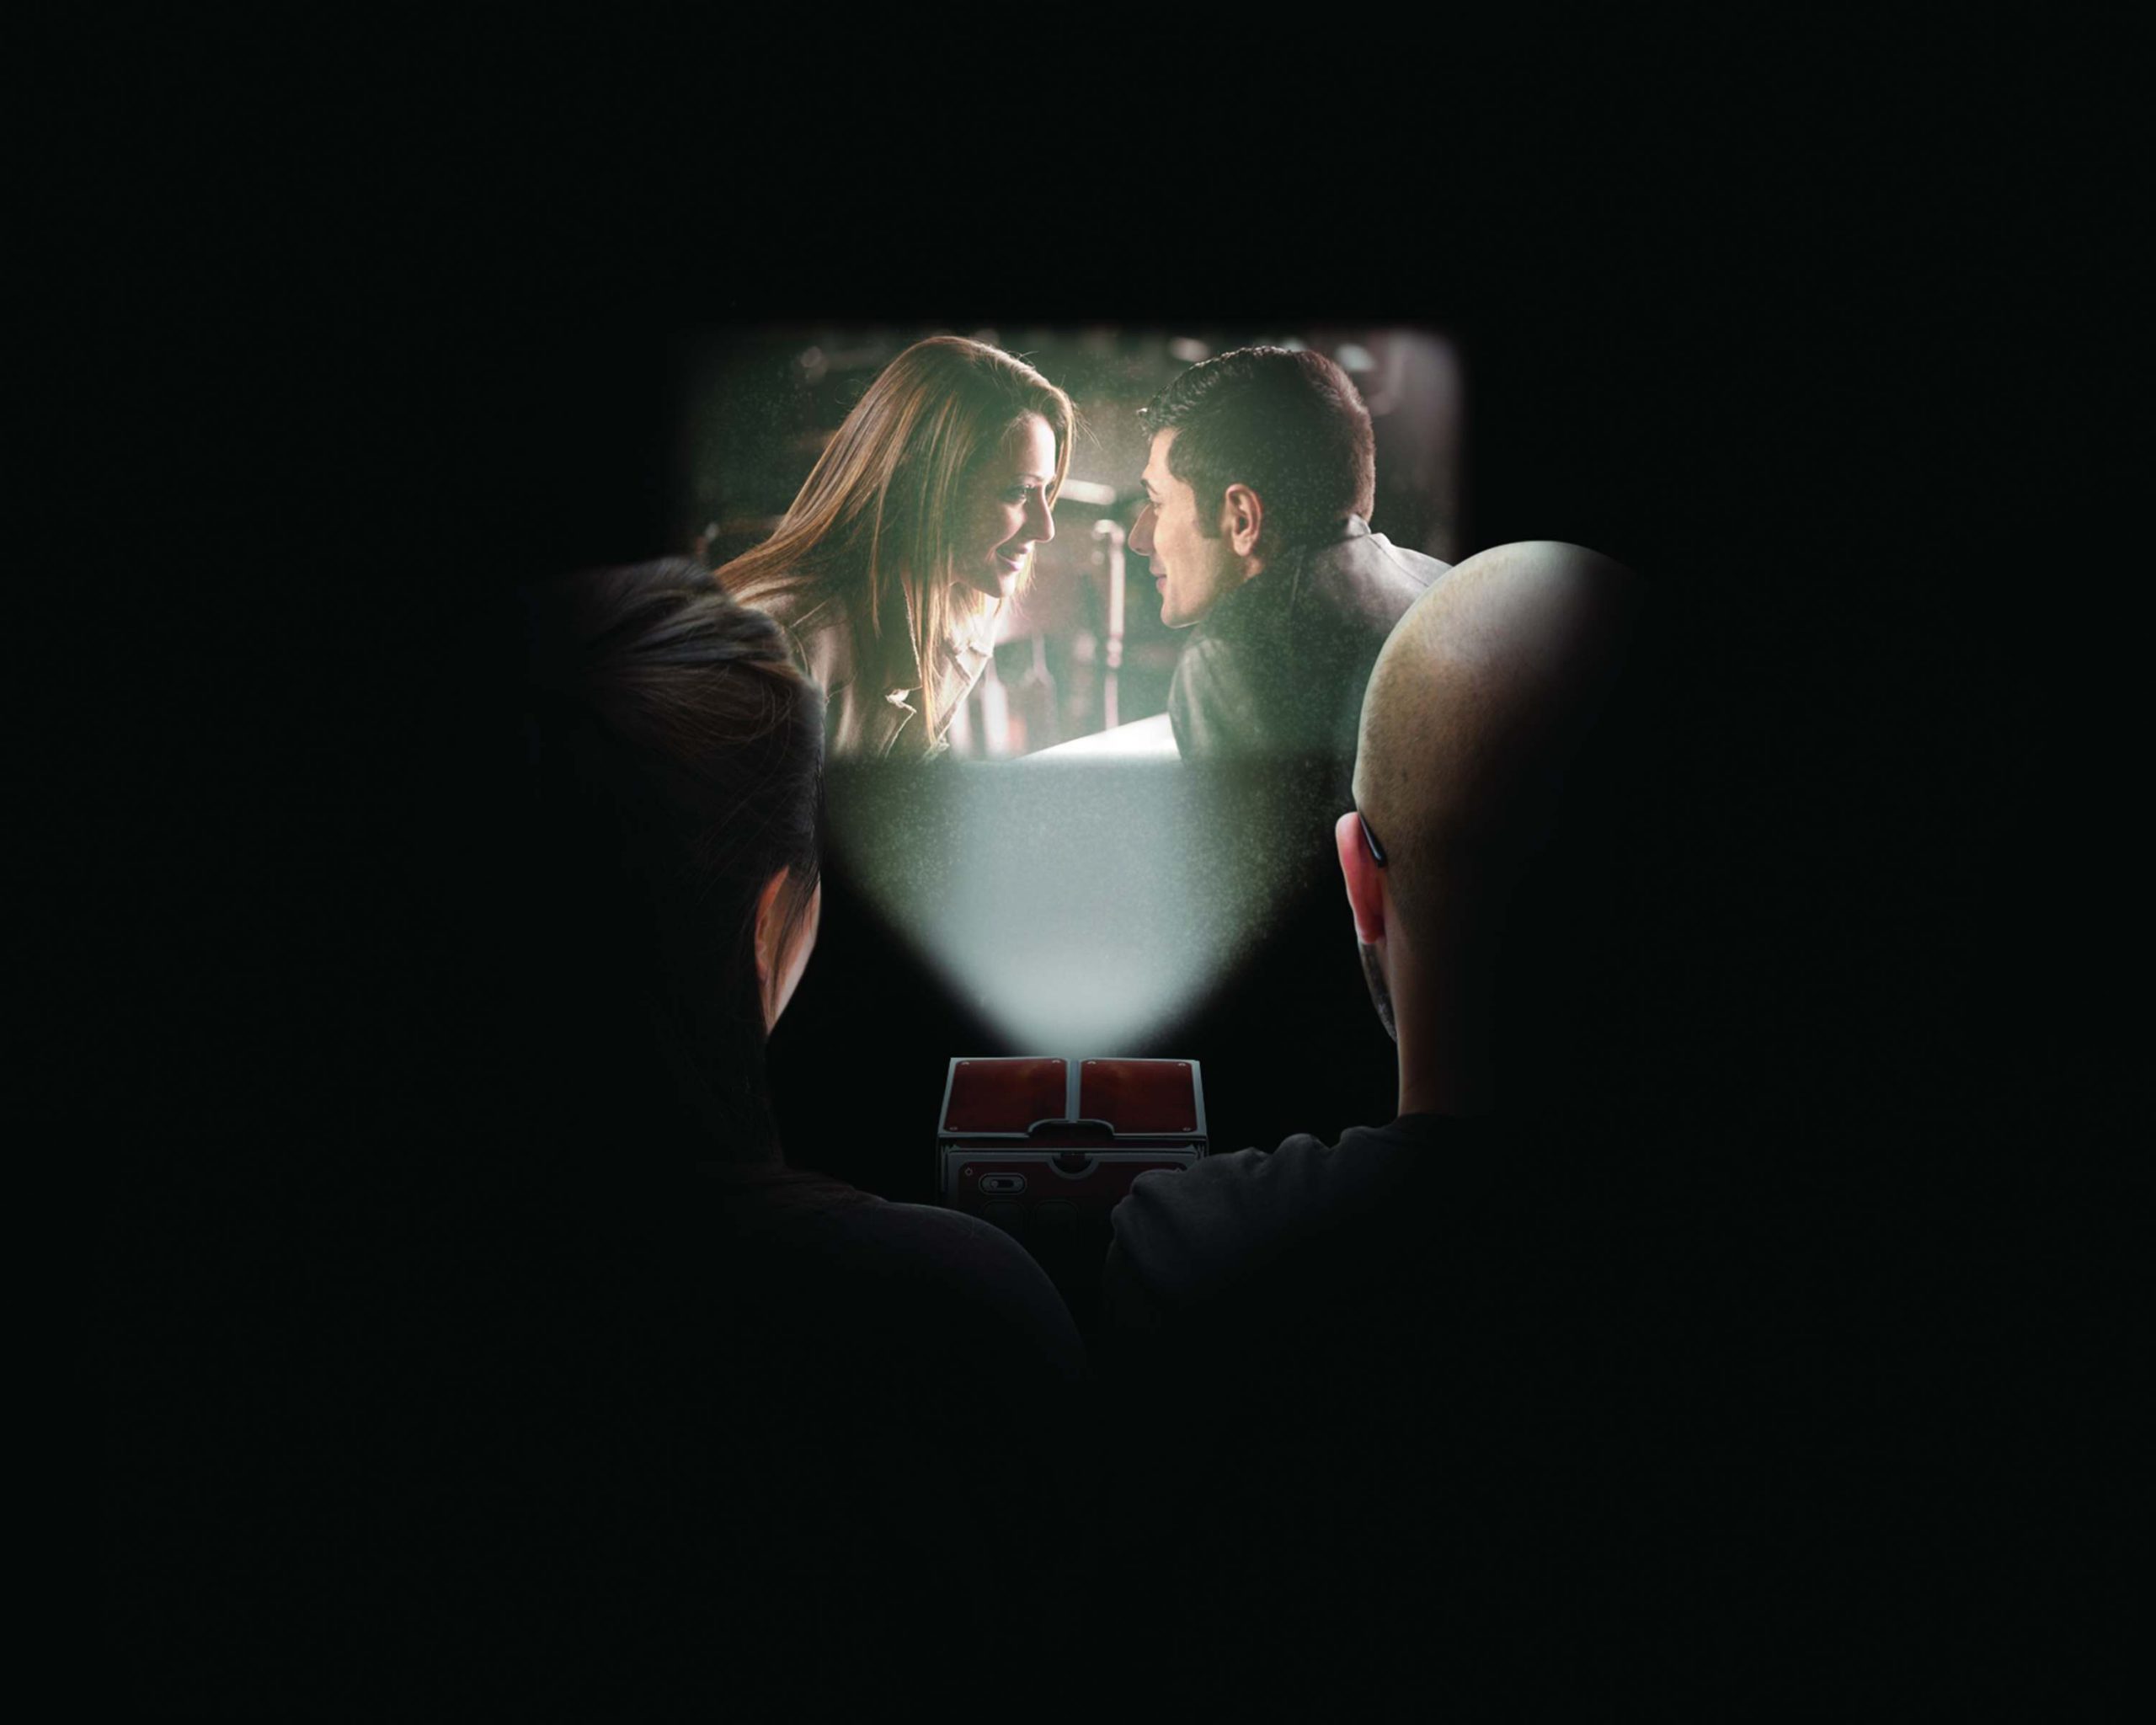
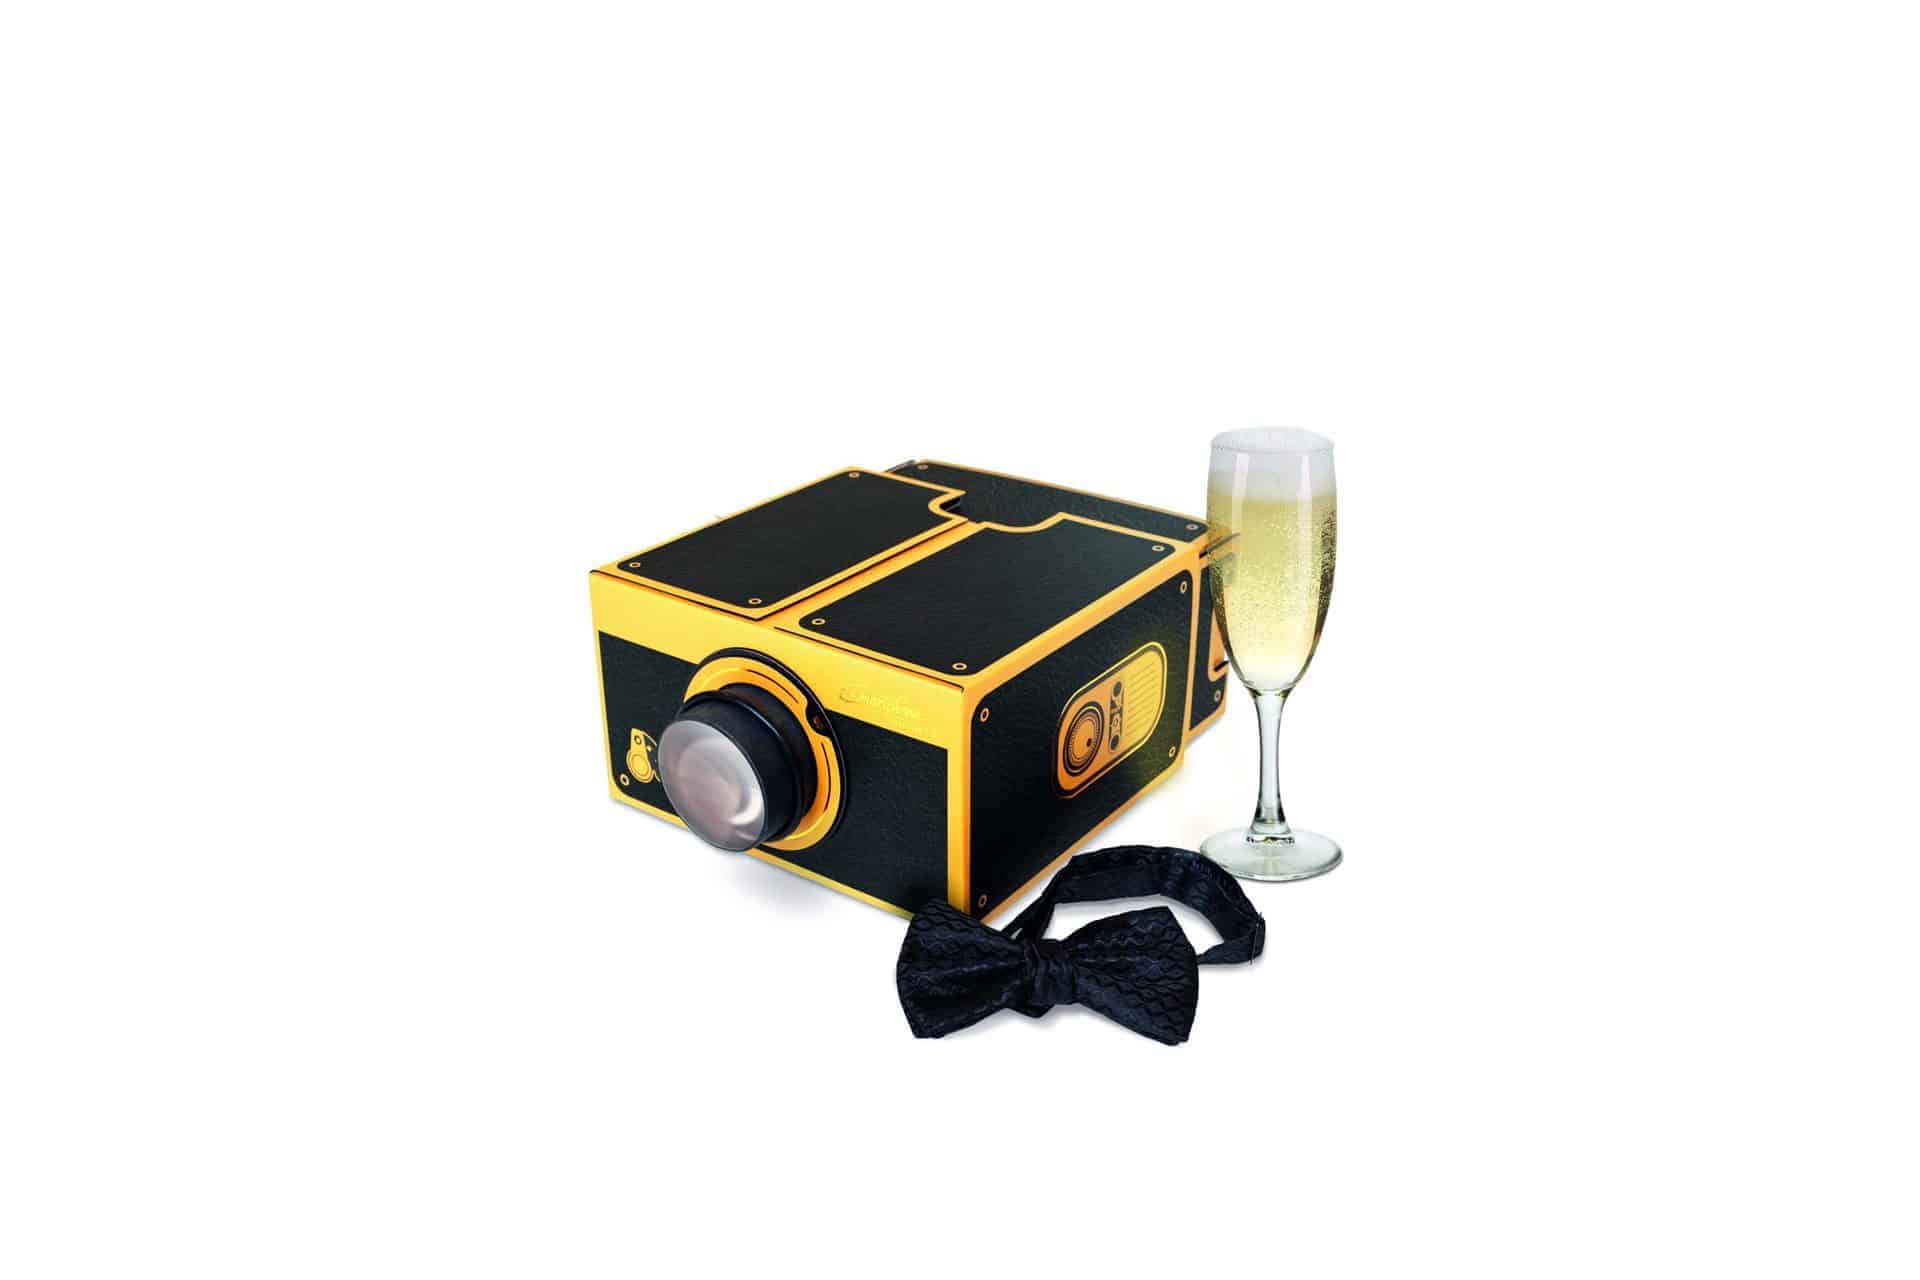
Projectors are so last century. They’re expensive, clunky and not always practical – unlike the Smartphone Projector from Luckies. It’s a DIY cardboard projector that can be used to screen any image, static or moving, from your smartphone onto the wall. It’s lightweight and easy to carry around, and can be used with iOS and Android-compatible smartphones with maximum dimensions of 14.5 x 8 cm or 5.7 x 3.2 inches.
What shall I watch on it?
Anything you like! If you need some ideas, here’s a few of our suggestions:
1. Pull on your Pjs or a Onesie, snuggle up under your covers and project movies and catch up TV onto your bedroom wall. Proper cosy. Just careful you don’t get popcorn under the sheets.
2. Having trouble fitting all your mates around your smartphone? Project those funny fail videos and Vines onto the wall instead – without anyone having to pull a muscle in their neck to join in. Boom.
3. Make up a slideshow of photos or cool visuals on your laptop, upload it onto your smartphone and create cool visuals at house parties. This also works well with still images – especially if you’ve got more than one Smartphone Projector.
Right, let’s get down to business. What’s inside the box? How do I put it all together?
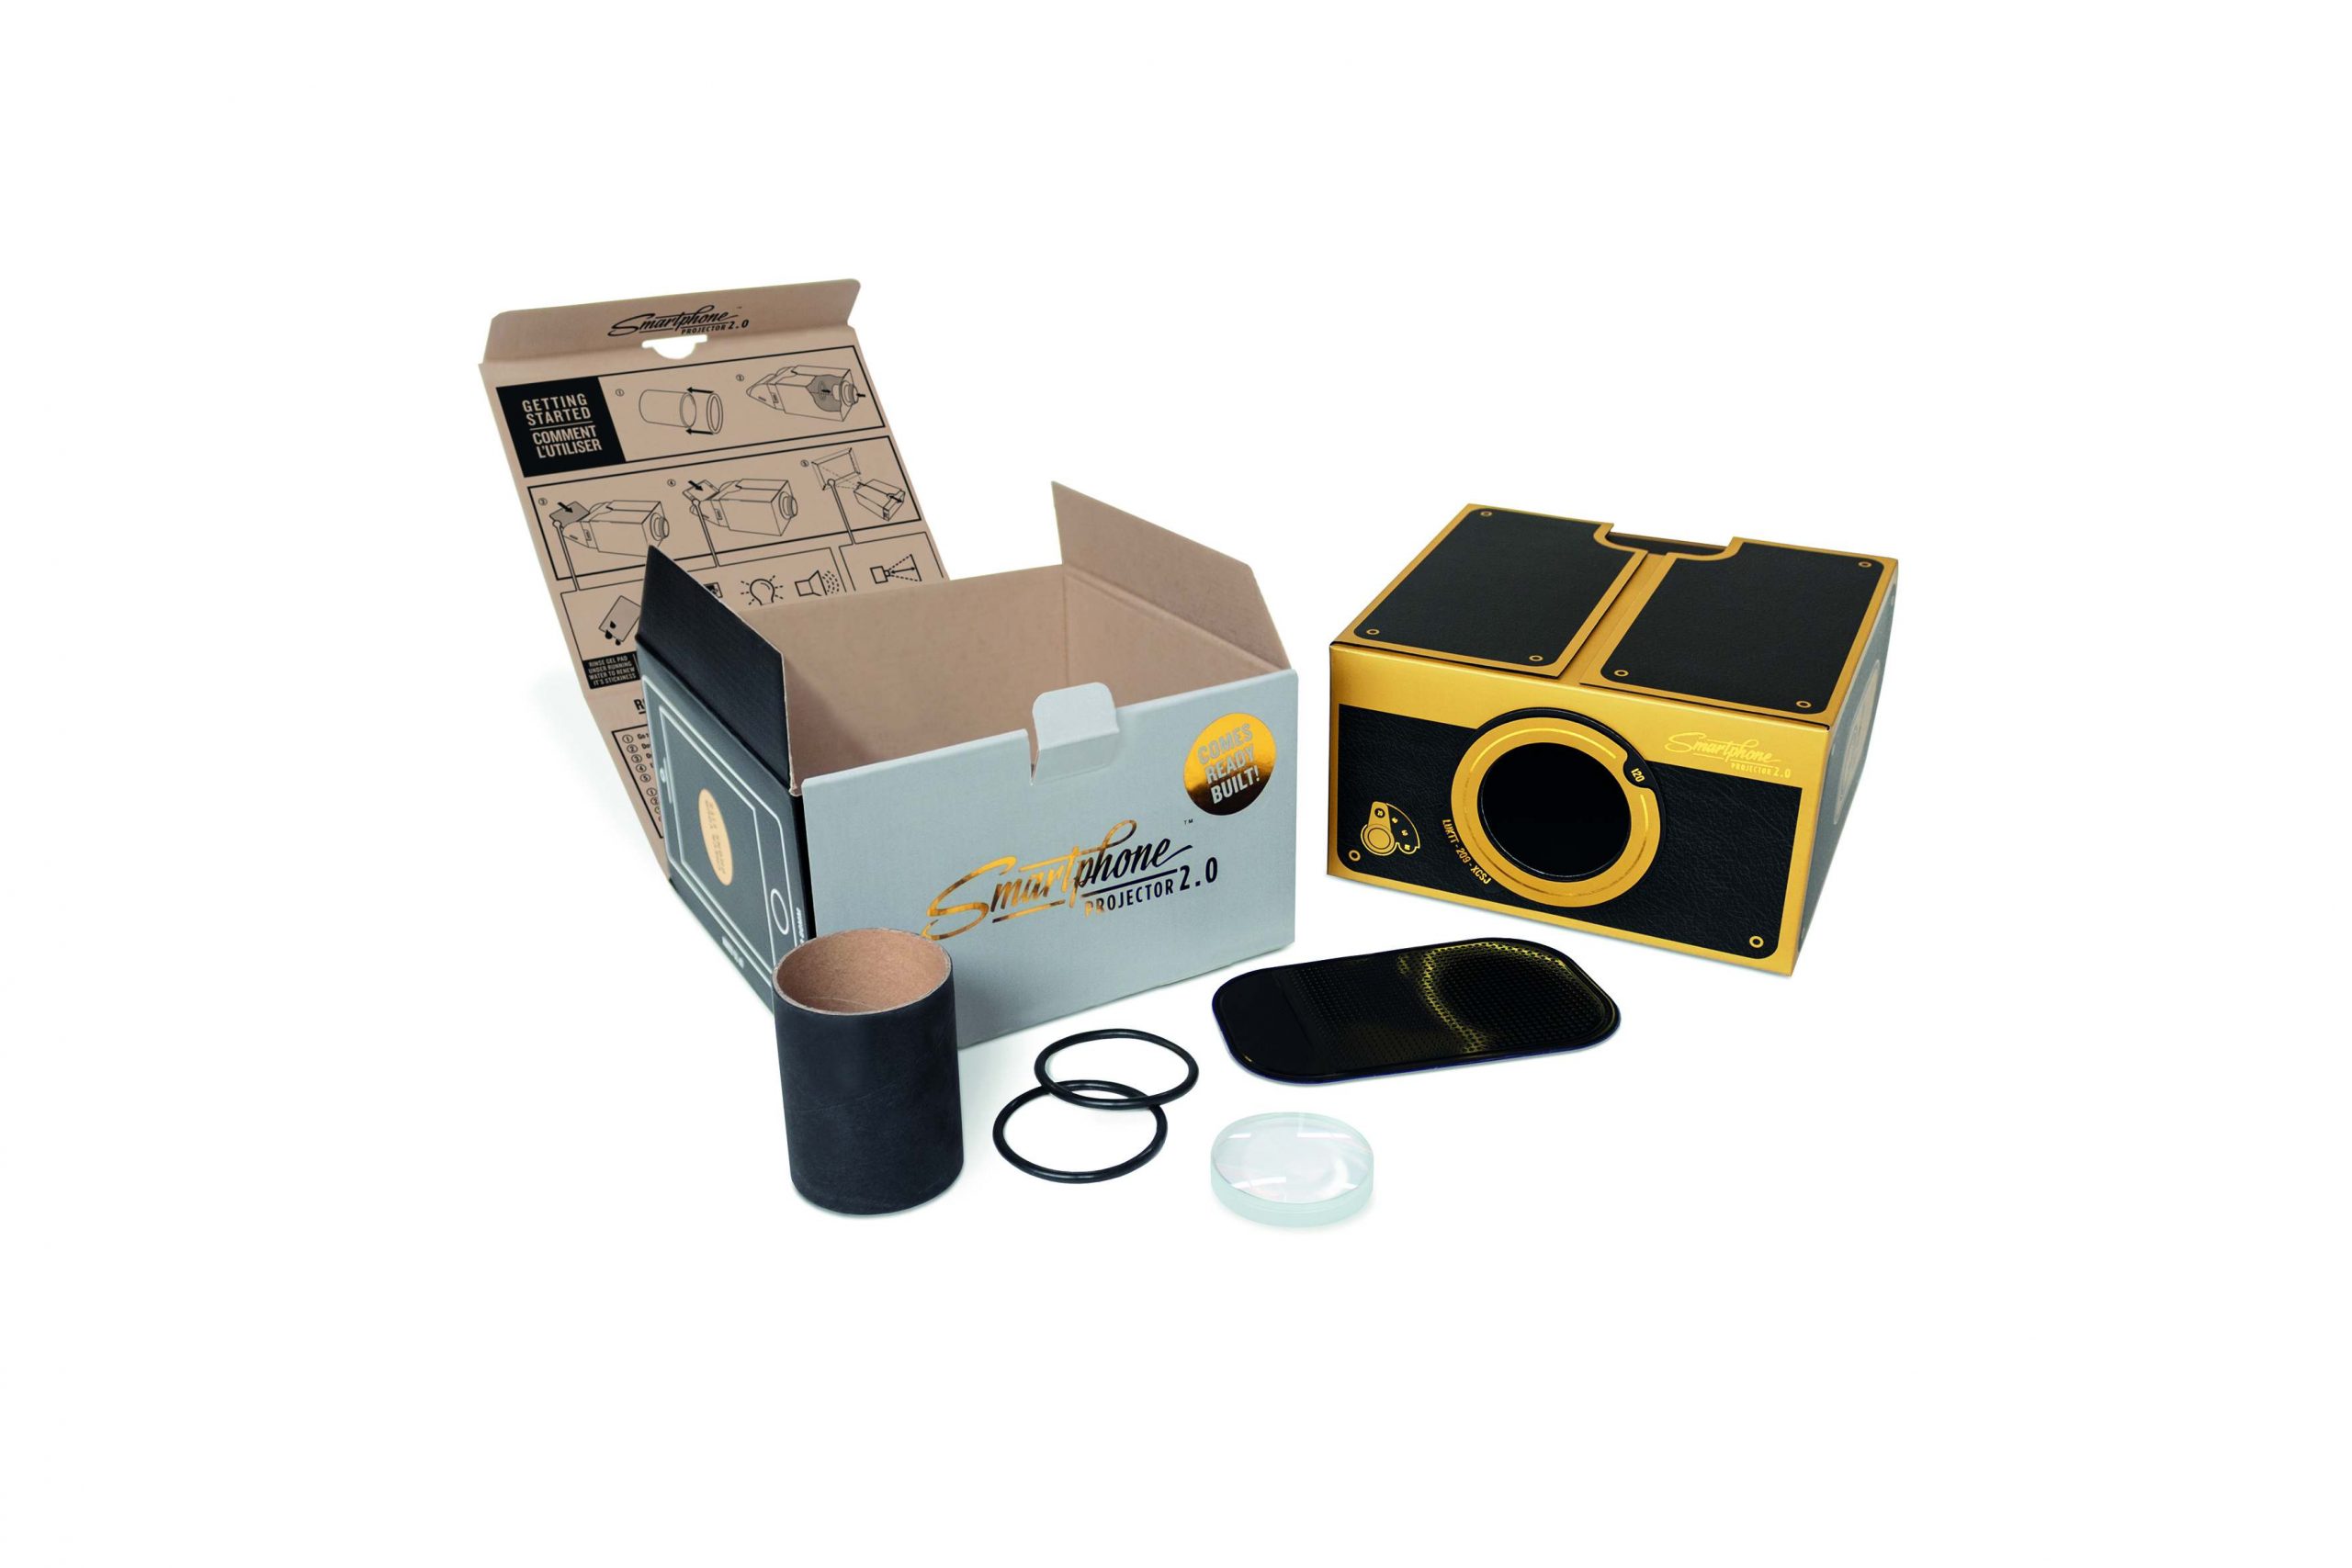
Get your Blue Peter badge on, because this is where things get a little bit hands on. But don’t worry – you won’t need to collect a week’s worth of toilet roll tubes or ice lolly sticks to build the Smartphone Projector, ’cause most of what you need is already inside the box. In fact, the only extras that you need are tube of superglue or double sided sticky tape and 15 minutes (yep, that’s it!) of your time.
Box contents:
•2 x cardboard nets
•4 x cardboard rings
•2 x rubber o-rings
•1 x card tube
•1 x glass lens
•1 x sticky gel mat
•1 x full set of easy-to-follow instructions
Is there anything that I need to do before I can use it?
Before you start screening cat videos off YouTube, you need to the flip and lock the image on your smartphone:
iOS users:
1.Enable ‘Assitive Touch’ (Settings > General > Accessibility)
2.Go to your video and turn phone into landscape mode
3.Hit the floating button that’s appaeared since you turned on ‘Assitive Touch’
4.Select ‘device’, ‘Rotate Screen and choose either ‘Left’ or ‘Right’
Android users:
1.Go to Google Play
2.Download ‘Ultimate Rotation Control’
3.Open the app
4.Under ‘Global Rotation’, lock your image into either landscape orientation
5.Deselect ‘Enable per App Settings’
Next, turn the lights off and draw the curtains (the darker the better!), turn your screen brightness up to 100% and the volume up to max. Place your Smartphone Projector one to two metres away from a smooth flat wall, move the rear of the projector in and focus the image. Now all you have to do is kick back, relax and enjoy LOLCats at up to 8x magnification. Pretty cool, huh?
What if I need to charge my phone?
There’s a nifty little hole in the side of the Smartphone Projector that’s perfectly sized for a cable to fit through. Just don’t leave it in there too long – it might get hot and overheat.
•Smartphone Projector 2.0;
•boxed dimensions 19.5 x 18 x 11cm,
•product dimensions 17.5 x 18.5 x 10.5 cm
Delivery
- Shipment will usually be within 24 hours after receiving your payment
- A valid tracking will be provided upon processing your order
- Tracking can be done at our website Shipment Tracking
- Full information available at Delivery
Shipment Costs
- Within the Baltic States and Finland, orders from EUR 30.00 are eligible for free shipping
- In other European countries free shipping is available from EU 75.00
- in other cases, shipment costs are automatically calculated depending on your destination and the weight/volume of the item(s) purchased
- Specific Conditions could apply depending on destination or articles purchased
- We have a customer support centre in Riga, Ģertrūdes iela 110, Rīga, LV-1009, LATVIJA
- You will be able to collect your order here between 10:00 and 16:00, Monday - Friday
- Only pre-paid orders will be available for collection
Warranty
- All purchased items come with Factory warranty
- Full information available at Warranty
Returns and exchanges
- Of course you might change your mind, a 14 day trial period is included!
- Please see for full conditions here Returns and exchanges

